(505) 280-5216
10–15 Minute Dwell: Four Step Shower Grout Mold Removal Sequence
For most bathrooms, a hydrogen peroxide and baking soda paste, or an oxygen bleach solution left to sit for 10 to 15 minutes, will lift black mold from shower grout. Scrub with a nylon brush, rinse, and dry completely. If the mold has grown into caulk rather than grout, replace the caulk instead of scrubbing it. Follow EPA guidance and call a professional once contamination exceeds roughly 10 square feet, and dry the area within 24 to 48 hours no matter which method you use.
TL;DR:
- Use hydrogen peroxide and baking soda paste or oxygen bleach for effective grout mold removal with dwell times of 10 to 20 minutes, depending on stain depth.
- Cleaning must follow a sequence: strip soap scum first, then apply oxidizers, scrub, rinse, and seal for best results.
- Porous grout requires more frequent resealing, and water-drop tests can identify if your grout is unsealed or sealed, affecting mold resistance.
- Mold in caulk usually necessitates replacement, as it grows into the material itself, unlike surface mold on grout.
- Call a professional if contamination exceeds 10 square feet, mold keeps returning, or there are signs of structural failure or hidden growth behind the tile.
Table of Contents
- Quick Shower Grout Mold Removal Methods To Try Now
- A Sequenced Deep-Clean Process For Stubborn Grout Mold
- Caulk Vs. Grout: When Cleaning Isn’t Enough
- How Do You Prevent Mold From Coming Back In Shower Grout?
- When Should You Call A Professional For Grout Mold?
- What DIY Grout Cleaning Gets Wrong Most Often
- Professional Tile & Grout Cleaning From Royal Carpet and Tile Cleaning
- Sources
- FAQ
Quick Shower Grout Mold Removal Methods To Try Now
Before you reach for anything stronger, know that most grout mold responds to ingredients already under your sink. The trick is dwell time. Wiping a cleaner on and off in thirty seconds does almost nothing to grout mold removal, because the fungus roots itself in the porous surface, not just on top of it.
Hydrogen peroxide and baking soda. Mix
hydrogen peroxide with baking soda until it forms a spreadable paste. Apply it directly to the moldy grout lines, let it sit for 10 to 15 minutes, then scrub with a stiff nylon brush and rinse with warm water. The CDC’s cleaning guidance backs this dwell time as sufficient for household-level mold on hard surfaces.
Oxygen bleach. For grout that has held onto stains for months, an oxygen bleach solution mixed with warm water and left to sit longer than peroxide, often 20 minutes or more depending on the product label, tends to cut through deeper discoloration.
White vinegar. Works well to remove mildew from grout on ceramic or porcelain tile, but skip it on natural stone. The acid etches marble, travertine, and limestone over repeated use.
Chlorine bleach, with caution. Bleach whitens the surface of grout, but it does not penetrate deep enough to kill mold growing below that surface, so recurrence is common. If you use it, follow the CDC’s dilution guidance, ventilate the room, and never combine bleach with ammonia or acidic cleaners.
- Hydrogen peroxide + baking soda paste, 10 to 15 minute dwell
- Oxygen bleach solution, longer dwell per label instructions
- White vinegar for ceramic and porcelain only
- Diluted chlorine bleach as a last resort, with ventilation
Pro Tip: Test any acidic cleaner, including vinegar, on a hidden corner of grout first. Some colored grout sealants react to acid with a faint bleaching effect you won’t notice until it’s too late.
A Sequenced Deep-Clean Process For Stubborn Grout Mold
Cleaning moldy grout out of order wastes both product and effort. Soap scum and hard water film sit on top of the grout like a shield, and no oxidizer can reach the mold underneath until that film is gone. A practical cleaning sequence built around that order works far better than random scrubbing.
- Strip the film first. Use a bathroom detergent or a mild descaler on the grout lines to remove soap scum and mineral scale. Skipping this step is the single most common reason DIY treatments fail.
- Apply the oxidizer. Spread your peroxide paste or oxygen bleach solution over the clean grout and keep it wet for the full dwell time. Reapply if it starts to dry out before the timer’s up.
- Agitate with the right tool. A nylon grout brush handles light growth; a powered rotary brush attachment saves your knees and knuckles on tough, deeply stained lines. Work the intersections where grout lines meet, since mold concentrates there.
- Rinse, dry, and seal. Rinse thoroughly with warm water, towel-dry the grout, and run the bathroom fan. Once the grout is fully dry, usually 24 to 48 hours, a penetrating grout sealer helps prevent moisture from soaking back in.
One detail that surprises most homeowners: grout porosity varies a lot from bathroom to bathroom. A quick water-drop test tells you which kind you’re dealing with. Drip water onto dry grout; if it darkens and absorbs within a few seconds, you have porous, unsealed cementitious grout that will need more frequent attention and resealing. If the water beads up, your grout is sealed or epoxy based and more mold-resistant already.
For a step-by-step walkthrough with photos of each stage, see this guide to deep cleaning tile grout.
Caulk Vs. Grout: When Cleaning Isn’t Enough
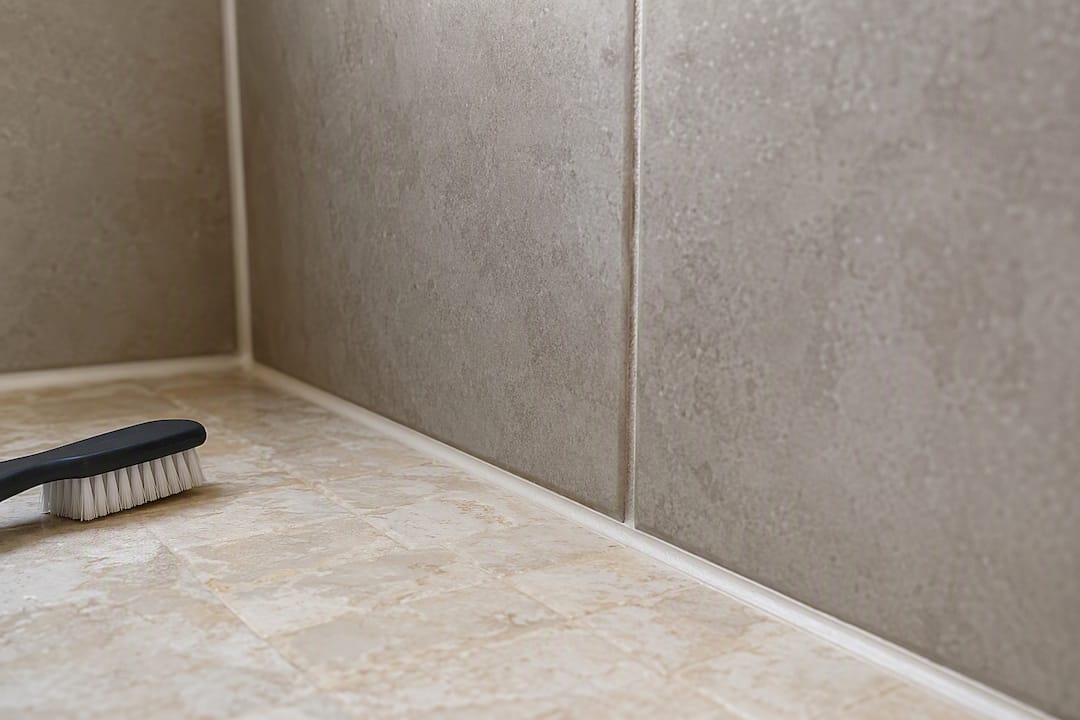
Grout and caulk look similar but behave very differently once mold sets in. Cementitious grout is a rigid, porous material. Mold sits mostly on its surface and in surface pores, which is why cleaning usually works. Caulk is a flexible silicone or acrylic bead, and mold can grow into its actual matrix, not just on top of it.
Here’s how to tell which problem you have:
- Black staining that runs through the depth of a caulk bead, not just on the surface, means the mold has colonized the material itself.
- Grout that feels sandy, crumbly, or pulls away when you scrape it with a fingernail has failed and needs replacing, not scrubbing.
- Mold that returns within days of a thorough cleaning, in the same spot every time, usually signals a caulk or grout failure rather than a cleaning failure.
Chronically staining or crumbling grout is often better replaced entirely, or covered with epoxy grout, than cleaned again and again. Our guide on restoring discolored grout covers the difference between a cosmetic fix and a real repair.
How Do You Prevent Mold From Coming Back In Shower Grout?
Cleaning solves today’s problem. Moisture control solves the recurring one. Mold needs standing water and organic residue to establish itself, and most bathrooms hand it both every single day without anyone noticing.
Start with airflow. Run the exhaust fan during your shower and for 20 to 30 minutes afterward. That runtime, paired with squeegeeing the walls and glass right after you turn off the water, meaningfully cuts residual moisture and gives mold spores far less to work with.
A few habits make the biggest difference over time:
- Squeegee shower walls and glass after every use, not just occasionally.
- Keep the fan running until the mirror clears and the tile feels dry to the touch, matching the EPA’s 24 to 48 hour drying window.
- Reseal cement grout every 12 to 18 months, more often in a heavily used shower.
- Replace old caulk with mold-resistant silicone when you notice the surface turning dull or chalky.
- Do a five-minute weekly wipe-down with a mild cleaner to keep soap film from building back up.
Pro Tip: A weak or clogged exhaust fan won’t move enough air to dry your shower in time, even if you run it for an hour. If your mirror still fogs 20 minutes after you turn off the water, the fan itself may need cleaning or servicing before any grout treatment will hold.
Our piece on mold prevention habits walks through a full weekly maintenance routine if you want more structure around this.
When Should You Call A Professional For Grout Mold?
DIY grout cleaning has real limits, and knowing where they sit saves you from chasing the same stain for months. The EPA sets a rough benchmark at about 10 square feet of contamination; beyond that, professional remediation becomes the safer route. Harvard Health adds that hidden or large-scale contamination, and any case where household members have respiratory sensitivities, also warrants a professional look rather than repeated home treatment.
Watch for these signals:
- A moldy area larger than roughly 10 square feet of grout or wall surface.
- A persistent musty smell with no visible source, which often points to mold growing behind tile.
- Mold that returns within a week or two of a correct, thorough cleaning and full drying.
- Grout or caulk that’s structurally failed, not just stained.
A professional visit typically starts with an inspection to find failed grout or caulk, removes anything too compromised to save, sets up containment on larger jobs to keep spores from spreading, and finishes with deep-clean equipment and a grout sealing application that gives you real protection going forward. Royal Carpet and Tile Cleaning built its tile & grout cleaning service around exactly that sequence, with grout color sealing available once the surface is fully clean and dry.
What DIY Grout Cleaning Gets Wrong Most Often
The mistake I see repeated most is skipping the descaling step. Homeowners jump straight to an oxidizer, and it fails because soap scum is blocking it from ever touching the mold. The second mistake is treating bleach as a cure-all when it only bleaches the surface. The third is rinsing, calling it done, and skipping the drying and sealing step entirely.
Run through this before you decide the problem is beyond you: inspect the grout and caulk closely, do a quick water-drop absorption check, strip the film, apply your oxidizer with full dwell time, scrub and rinse, then dry and seal. If mold returns after all six steps done correctly, that’s your signal to bring in a professional rather than repeat the cycle.
— Bernadette
Professional Tile & Grout Cleaning From Royal Carpet and Tile Cleaning
If you’ve worked through the peroxide paste, the descaling step, and the drying routine and the mold keeps coming back, the honest answer is that scrubbing harder won’t fix it. Royal Carpet and Tile Cleaning handles what a bottle of hydrogen peroxide can’t: grout that’s absorbed staining below the surface, caulk that needs proper removal and replacement, and sealing that actually holds up against daily shower moisture.

Every job starts with an inspection to see whether you’re dealing with surface mold or something growing deeper, followed by a multi-step cleaning process and grout color sealing. As a locally owned, owner-operated company, Royal Carpet and Tile Cleaning treats your bathroom the way we’d treat our own. If your shower grout has you stuck in a repeat cleaning cycle, request a quote through the tile & grout cleaning page and get a straight answer on what it will take to fix it for good.
Sources
- Mold cleanup in your home | US EPA
- Mold in the home: Identifying and treating the issue to prevent health problems | Harvard Health
- How to clean mold in shower | MoldGuide
FAQ
Is Black Mold In Showers Toxic?
Black mold in a shower can trigger respiratory irritation and allergic reactions in sensitive people, and Harvard Health recommends professional evaluation if occupants have existing health concerns. It should be removed promptly rather than left to spread, regardless of the exact species.
How Do You Remove Black Mold From Shower Caulking?
Cleaning rarely resolves mold that has grown into caulk, since the fungus colonizes the material itself rather than sitting on the surface. The reliable fix is cutting out the old caulk, letting the joint dry fully for 24 to 48 hours, and applying new 100% silicone caulk.
What Is The Best Mold Remover For Shower Grout?
A 3% hydrogen peroxide and baking soda paste left on for 10 to 15 minutes handles most grout mold, per CDC cleaning guidance. Oxygen bleach works well on deeper, older staining but needs a longer dwell time per the product label.
Can You Grout Over Old Moldy Grout?
No. Grouting over mold traps it beneath the new layer, where it keeps growing and eventually resurfaces. Remove the failed grout completely, clean and dry the joint, and apply fresh grout, or have a professional handle the removal and regrouting if the area is large.
When Should I Stop Cleaning And Call A Professional?
Once contamination covers more than about 10 square feet, keeps returning after correct cleaning, or seems to be coming from behind the tile, the EPA recommends professional remediation over continued DIY attempts. Royal Carpet and Tile Cleaning’s tile & grout service covers inspection, deep cleaning, and sealing for exactly this stage.