(505) 280-5216
Get Your Glow Back: Refinishing Terracotta Tiles Made Easy
Refinishing Terracotta Tile Floors: 5 Easy Steps
Why Your Terracotta Floor Deserves a Second Chance
Refinishing terracotta tile floors restores their rustic beauty by stripping old sealant, deep cleaning, and applying a fresh protective seal. Here’s the process:
Quick Answer: The Refinishing Process
- Strip: Remove old sealant with a chemical hand stripper.
- Clean: Use pH-neutral cleaners on tiles and grout.
- Stain (Optional): Change color with a stain, not paint.
- Seal: Apply a penetrating sealer to protect the porous clay.
- Maintain: Sweep regularly and check porosity annually.
Terracotta’s porous clay makes it beautiful but vulnerable. Worn sealant leads to dullness, water stains, white chalky patches (efflorescence), and discolored grout. Unlike other tiles, terracotta is soft and easily damaged by floor machines or water-based strippers. The only safe method is chemical hand-stripping.
With the right approach, even worn-out terracotta can be restored to its former glory, bringing back its natural charm.
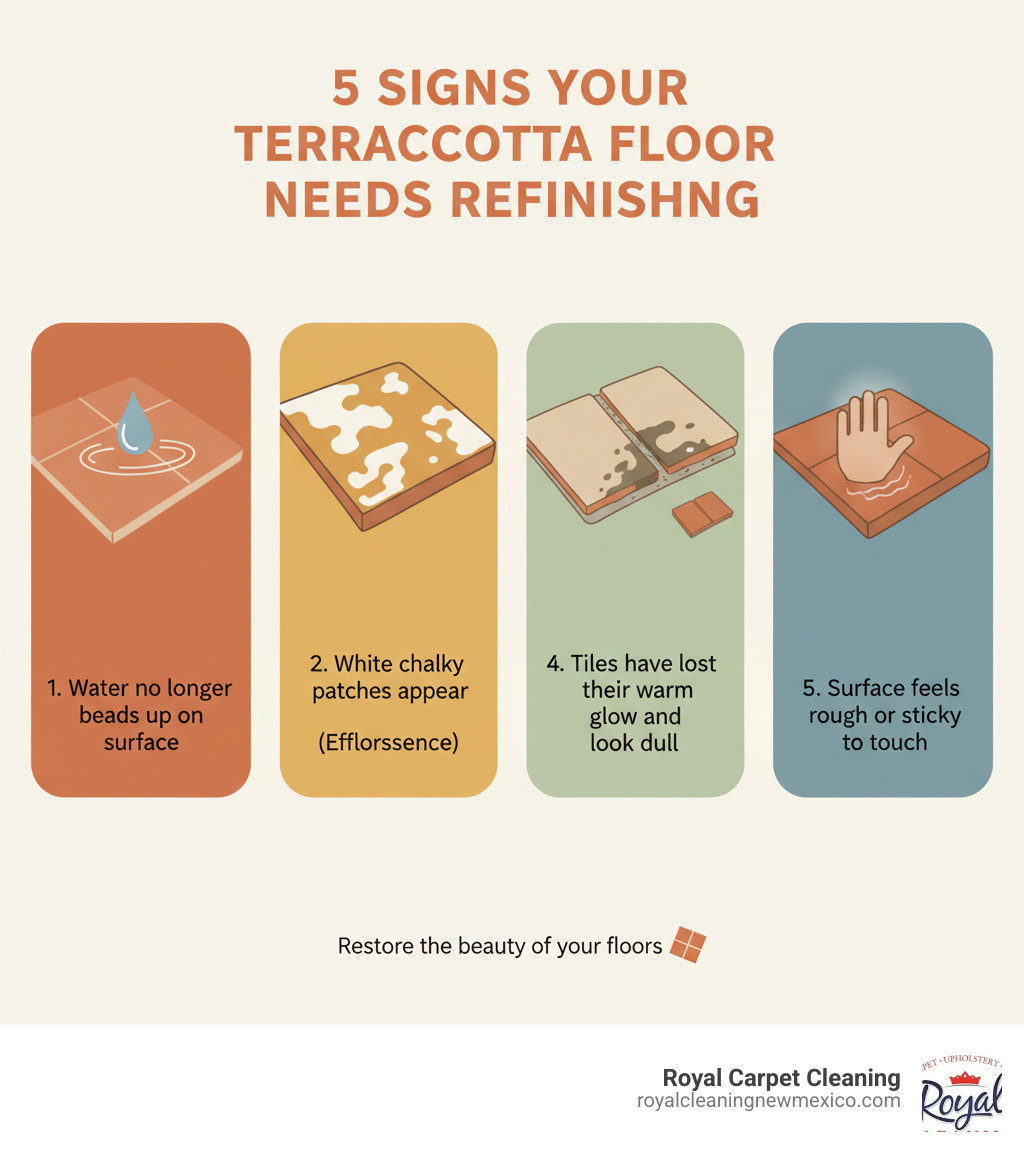
Terracotta, Tecate pavers, and Saltillo tiles are all soft clay materials that require this special care. Instead of replacing a tired-looking floor, you can refinish it to look like new.
Your Step-by-Step Guide to Refinishing Terracotta Tile Floors
Refinishing terracotta tile floors requires patience, but the results are worth it. Follow these steps to strip away buildup, deep clean, and protect your floor for the future.
Step 1: Stripping Old Sealant
This is the most critical step. Stripping removes the old, discolored sealant that traps dirt.
Why Chemical Hand Stripping is Essential
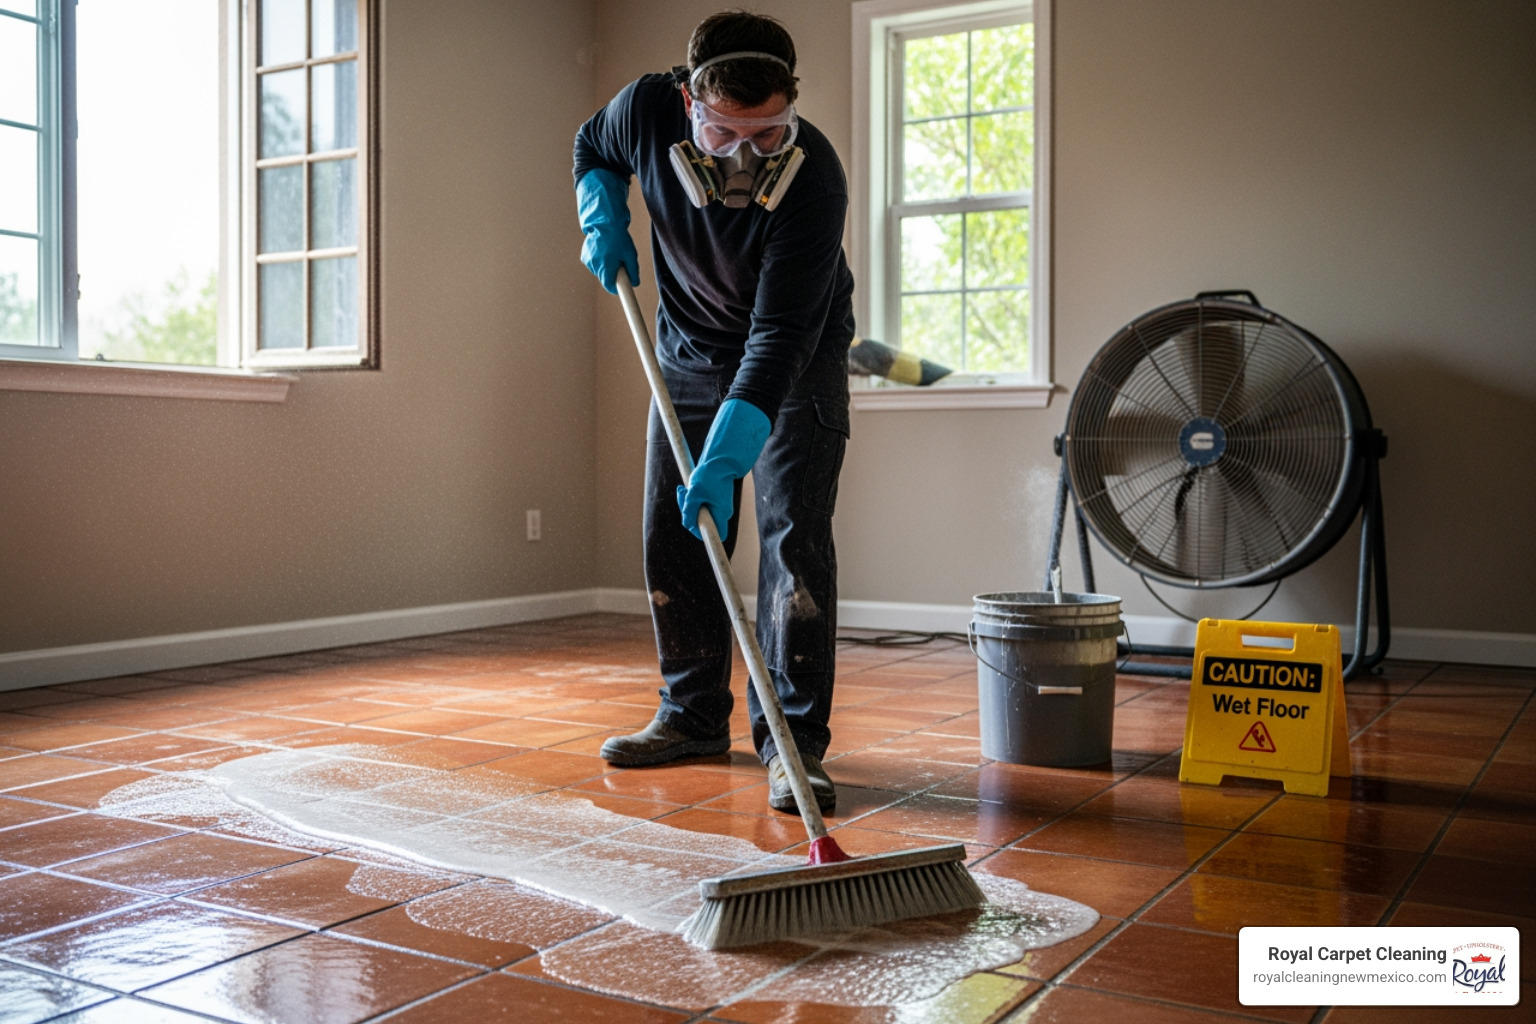
Terracotta is soft and porous, so floor machines and water-based strippers will cause damage. The only safe method is applying a solvent-based stripper by hand.
The Stripping Process
Work in small, well-ventilated sections. Apply a solvent-based stripper and let it sit for 15-30 minutes. Scrub the tiles and grout with a stiff brush, then use a wet/dry vacuum to remove the dissolved sealant. Rinse with clean water and vacuum again until the water is clear. Repeat for the entire floor.
Step 2: Deep Cleaning Tiles and Grout
Once stripped, deep clean any remaining residue and dirt.
Mix a pH-neutral stone floor cleaner with warm water, apply it, and let it sit for 15 minutes before scrubbing. Rinse thoroughly with clean water, using a wet/dry vac to remove all moisture. For grout lines, use a specialized grout cleaner and a stiff brush to scrub away embedded dirt.
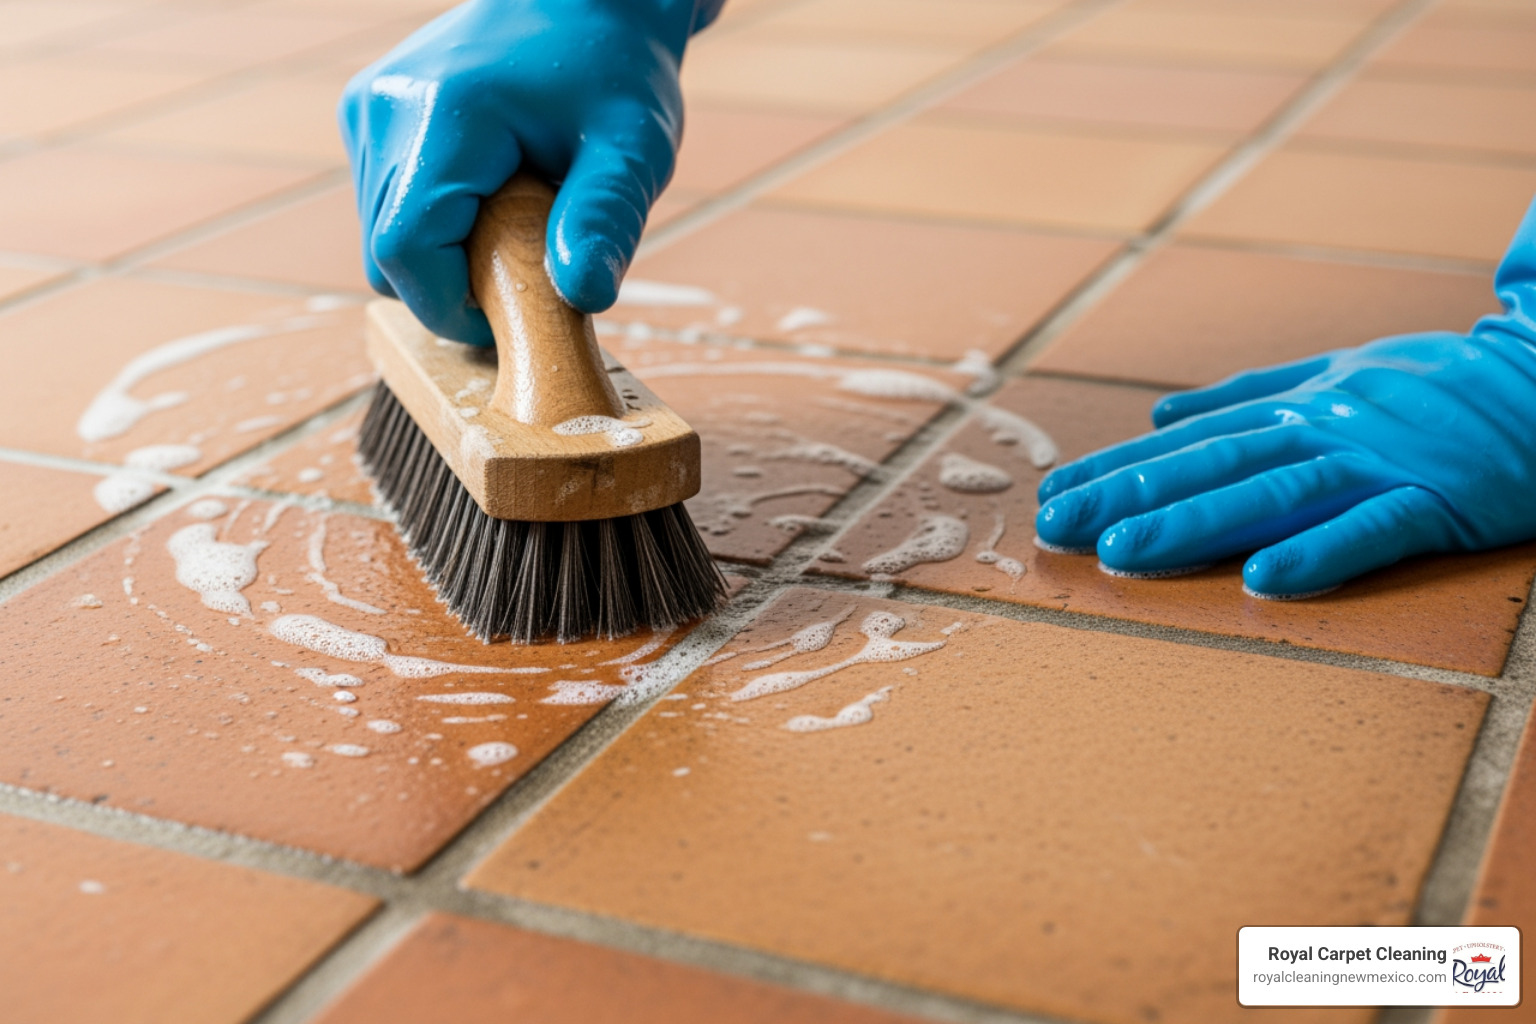
Allow the floor to dry completely, which can take 24 hours or more. Use fans to speed up the process. Any trapped moisture will ruin the new sealer.
Step 3: Staining vs. Painting
If you want to change your floor’s color, stain it, don’t paint it.
Staining penetrates the porous clay, so it won’t chip or peel. It enhances the tile’s natural variations and character. Painting creates a surface layer that inevitably chips, flakes, and peels, making the floor look flat and plastic.
| Method | Durability | Appearance | Peeling Risk |
|---|---|---|---|
| Staining | High (becomes part of the tile) | Natural, enhances character | Very Low |
| Painting | Low (sits on surface, wears quickly) | Flat, hides natural beauty | Very High |
Step 4: Sealing and Protecting Your Floor
Sealing is the final step to protect your hard work. A good sealer creates a barrier against liquids and stains while allowing the tile to breathe.
Choosing the Right Sealer
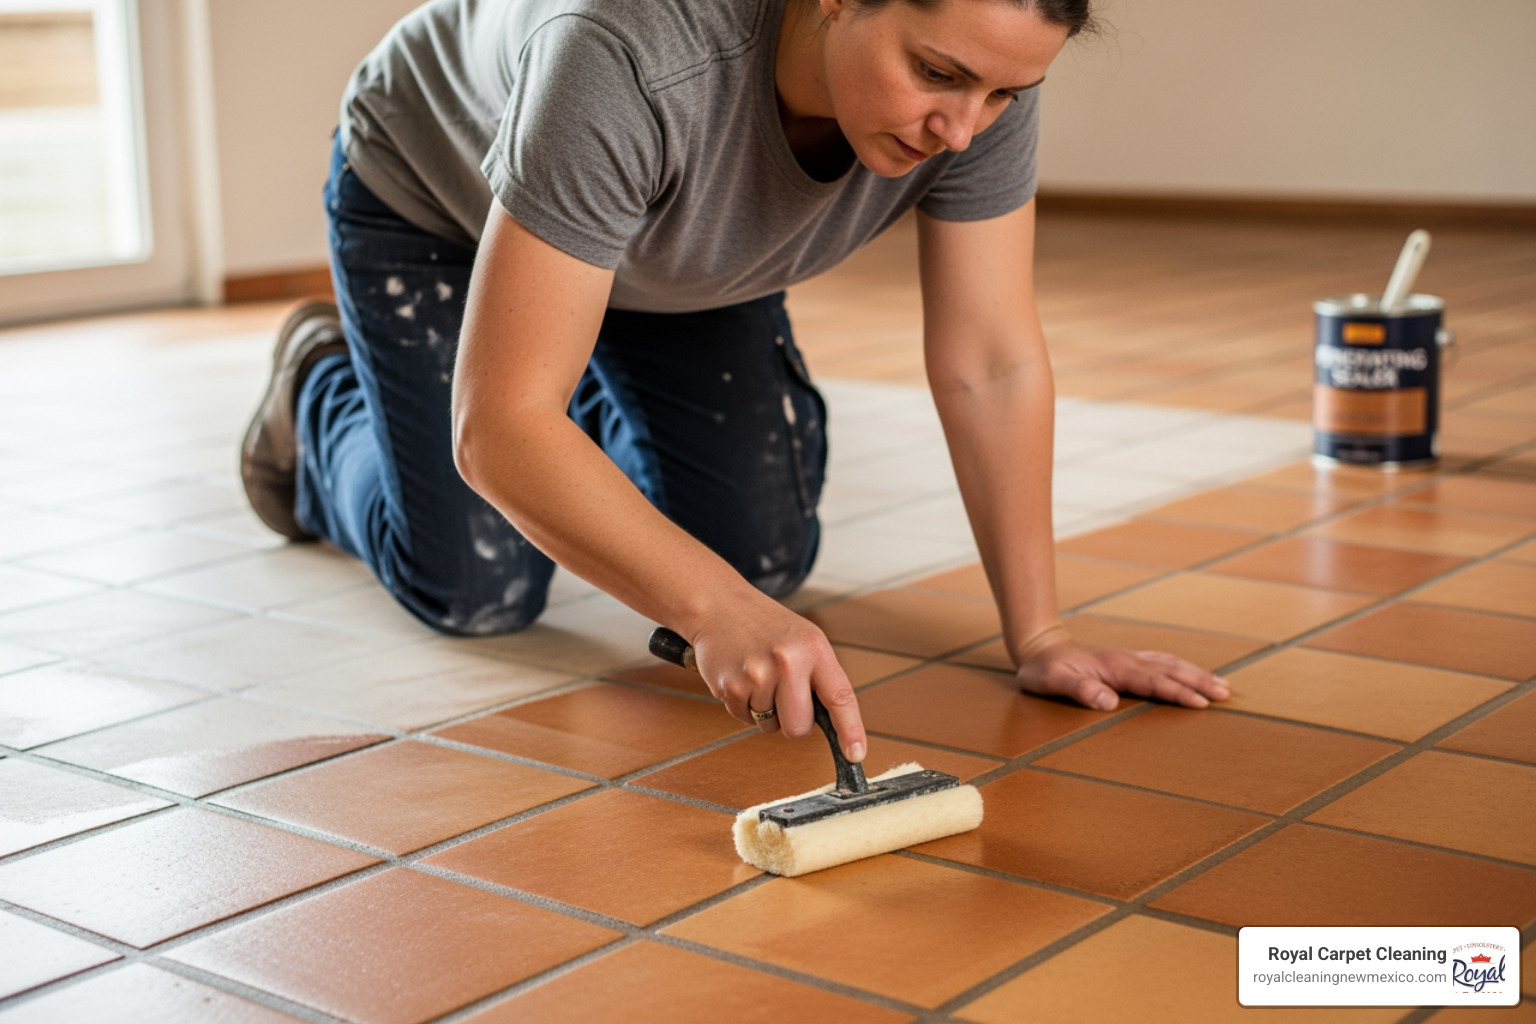
Penetrating sealers are best for terracotta. They absorb into the tile’s pores to repel water and oil without creating a slippery film. Avoid topical sealers, which scratch and peel easily on soft terracotta. Color-enhancing penetrating sealers can deepen the tile’s natural tones for a “wet look.”
How to Apply Sealer
Ensure the floor is completely dry. Apply the sealer in thin, even coats with a lint-free rag. After 5-15 minutes, wipe off any excess that hasn’t absorbed. Let the first coat dry, then apply a second if needed. Allow 24-72 hours for the sealer to fully cure before walking on the floor.
Maintaining Your Restored Floor & When to Call the Pros
With your terracotta floors restored, proper maintenance will keep them looking great for years.
Best Practices for Long-Term Maintenance
- Routine Cleaning: Sweep or vacuum regularly to remove abrasive grit.
- Gentle Mopping: Use a pH-neutral cleaner for natural stone or just warm water. Avoid harsh detergents that can strip the sealer.
- Quick Spill Cleanup: Wipe up spills immediately, especially acidic ones like wine or coffee.
- Protective Mats: Use doormats and area rugs in high-traffic areas to protect the sealer.
- Annual Porosity Check: Once a year, put a few drops of water on a tile. If it absorbs quickly, it’s time to re-seal. High-traffic areas may need re-sealing every 2-3 years.
Know Your Limits: When to Call a Professional
While DIY refinishing can save money, some jobs are best left to the pros. Call a professional for:
- Extensive damage: Deep-set stains, widespread cracking, or recurring efflorescence often require specialized equipment.
- Time and effort: Refinishing is a labor-intensive project involving strong chemicals. If you lack the time or physical ability, hiring a professional is a wise choice.
A professional can assess your floor, use the correct products, and ensure beautiful results without the backbreaking work, giving you peace of mind.