(505) 280-5216
**How to Master Tile Floor Cleaning in 30 Days**
Tile Floor Cleaning: Sparkle in 30 Days
Why Mastering Tile Floor Cleaning Transforms Your Home
Tile floor cleaning can feel like an endless battle against dirt and dingy grout. The problem isn’t a lack of effort; it’s often using the wrong methods or products for your specific tile.
Quick Tile Floor Cleaning Essentials:
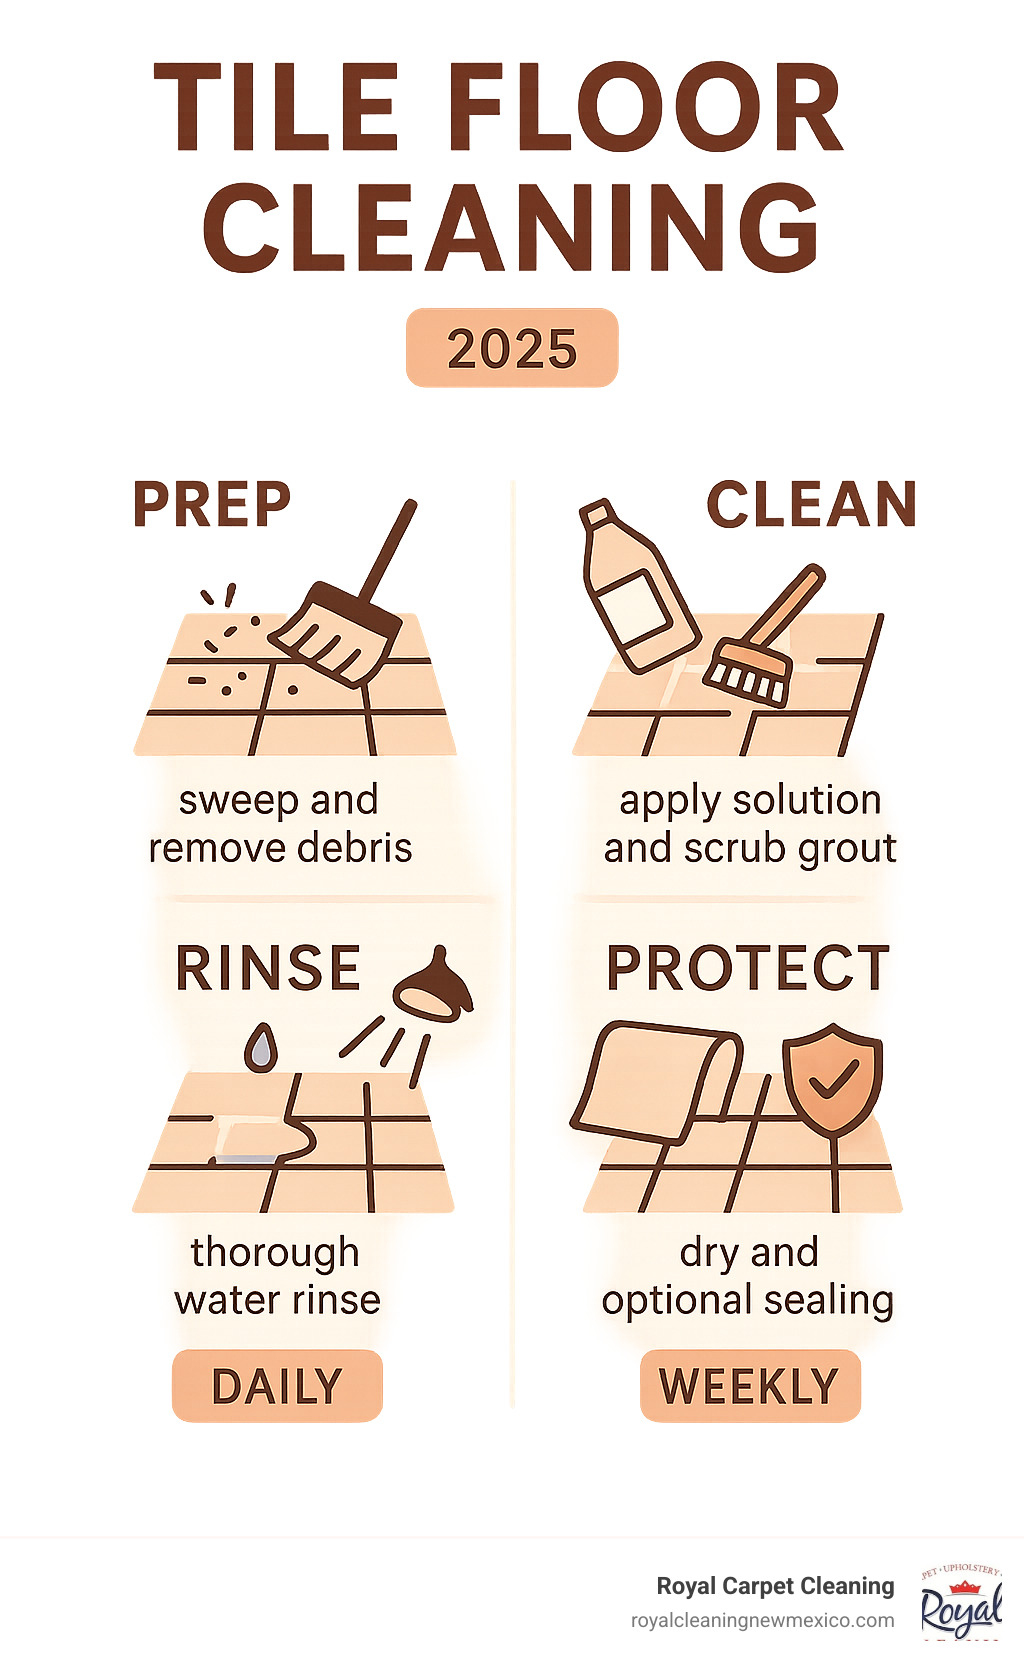
- Sweep first to remove loose debris.
- Use the right cleaner: pH-neutral for stone, mild soap for ceramic/porcelain.
- Scrub grout with a soft brush and baking soda paste.
- Rinse thoroughly with clean water to prevent streaks.
- Dry completely to avoid water spots.
Many homeowners make critical mistakes, like using harsh chemicals that damage grout or skipping the rinse step, which leaves a dirt-attracting residue.
Effective tile floor cleaning isn’t about expensive products or back-breaking labor. It’s about understanding your tile and using a proven system.
This guide will show you how to restore your ceramic, porcelain, or natural stone floors. I’m Bernadette King RCC, and with years of professional cleaning experience, I’ve created a simple system any homeowner can master.
The Ultimate Guide to Tile Floor Cleaning: Methods, Tools, and Products
Successful tile floor cleaning is about understanding your surfaces and choosing the right approach. Different tiles require different care.
Know Your Surface: Identifying Different Tile and Grout Types
Before you clean, identify your tile type to avoid costly mistakes.
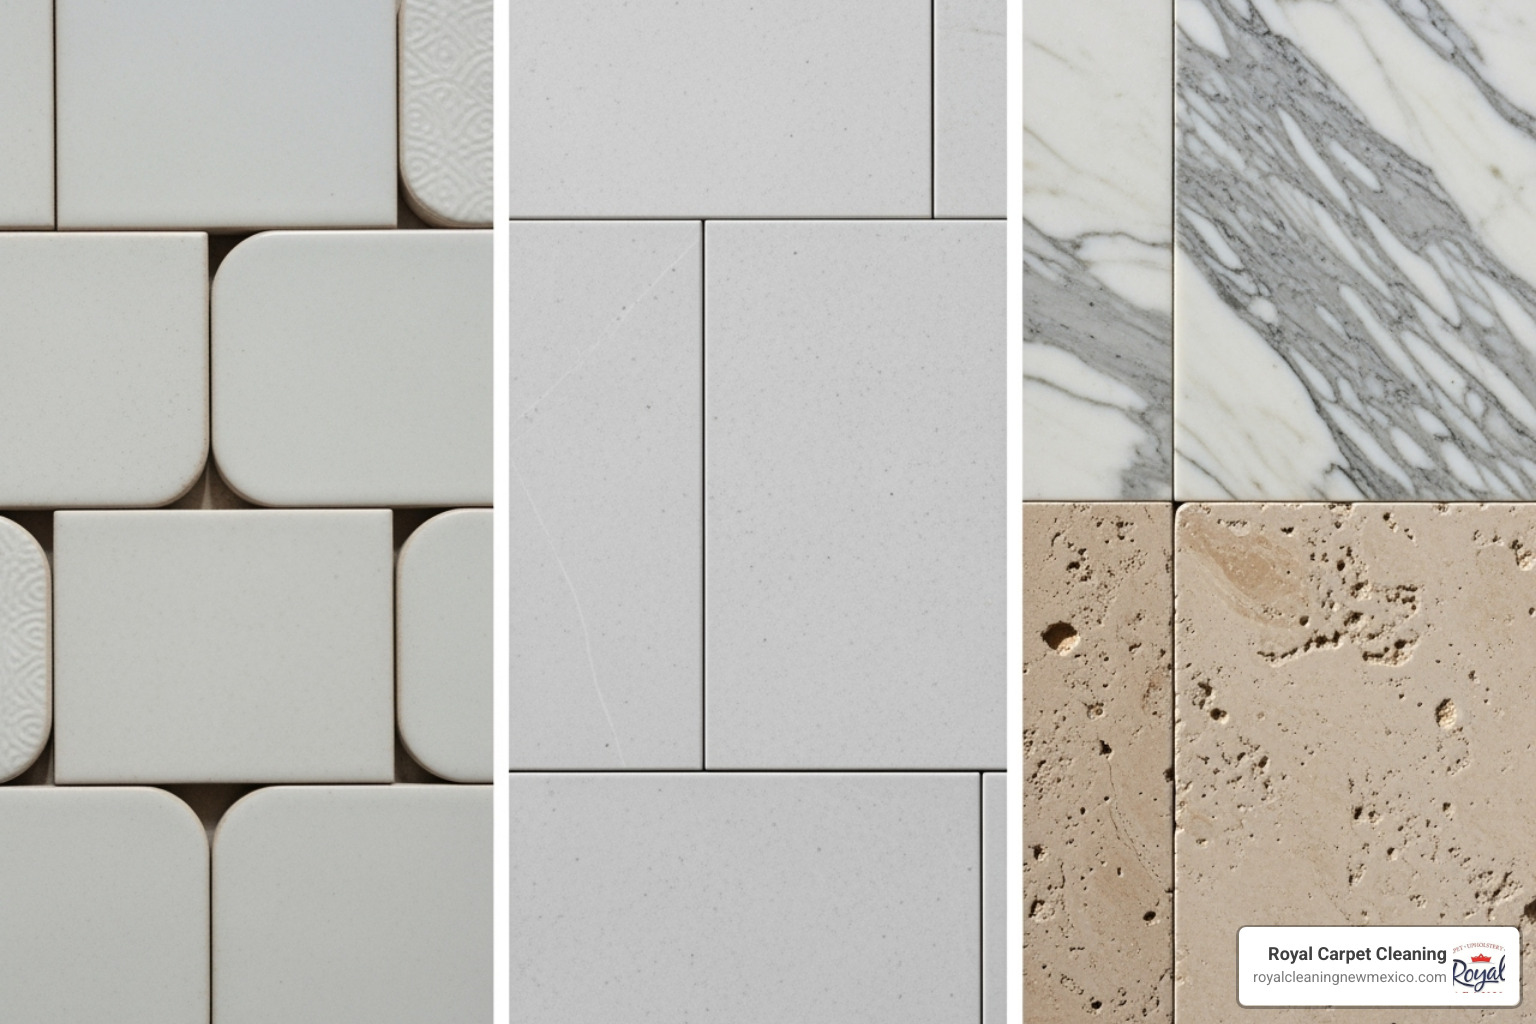
Ceramic tiles: Durable and water-resistant. Avoid harsh scrubbing or acidic cleaners that can damage the glaze. Use warm water with mild dish soap.
Porcelain tiles: Denser and more stain-resistant than ceramic. Avoid harsh chemicals like bleach or ammonia. A mild cleaner and hot water work best.
Natural stone tiles (marble, granite, travertine): Require special care. Never use acidic cleaners like vinegar or lemon juice, as they will etch the surface. Always use a pH-neutral cleaner.
Grout: Grout is porous and absorbs stains. Sanded grout is used for wider joints, while unsanded grout is for narrower ones.
Essential Tools and Natural DIY Cleaning Solutions
You don’t need expensive gadgets. Your essential toolkit should include a microfiber mop, a soft-bristled brush for grout, a vacuum, a spray bottle, and two buckets (one for cleaning, one for rinsing).
For DIY solutions:
- Mild dish soap and warm water: A great all-purpose cleaner for ceramic and porcelain.
- Baking soda paste: Mix baking soda and water to create a powerful paste for grout and tough stains.
- Vinegar solution: Diluted white vinegar can work on ceramic and porcelain, but never use it on natural stone or grout due to its acidity. Use vinegar and baking soda separately for best results.
The Core Method: Your Step-by-Step Guide to Tile Floor Cleaning
This six-step process is what professional cleaners use.
Step 1: Remove loose debris. Sweep or vacuum first to prevent scratching your tiles.
Step 2: Apply cleaning solution. Work in small sections and let the solution sit for a few minutes to break down grime.
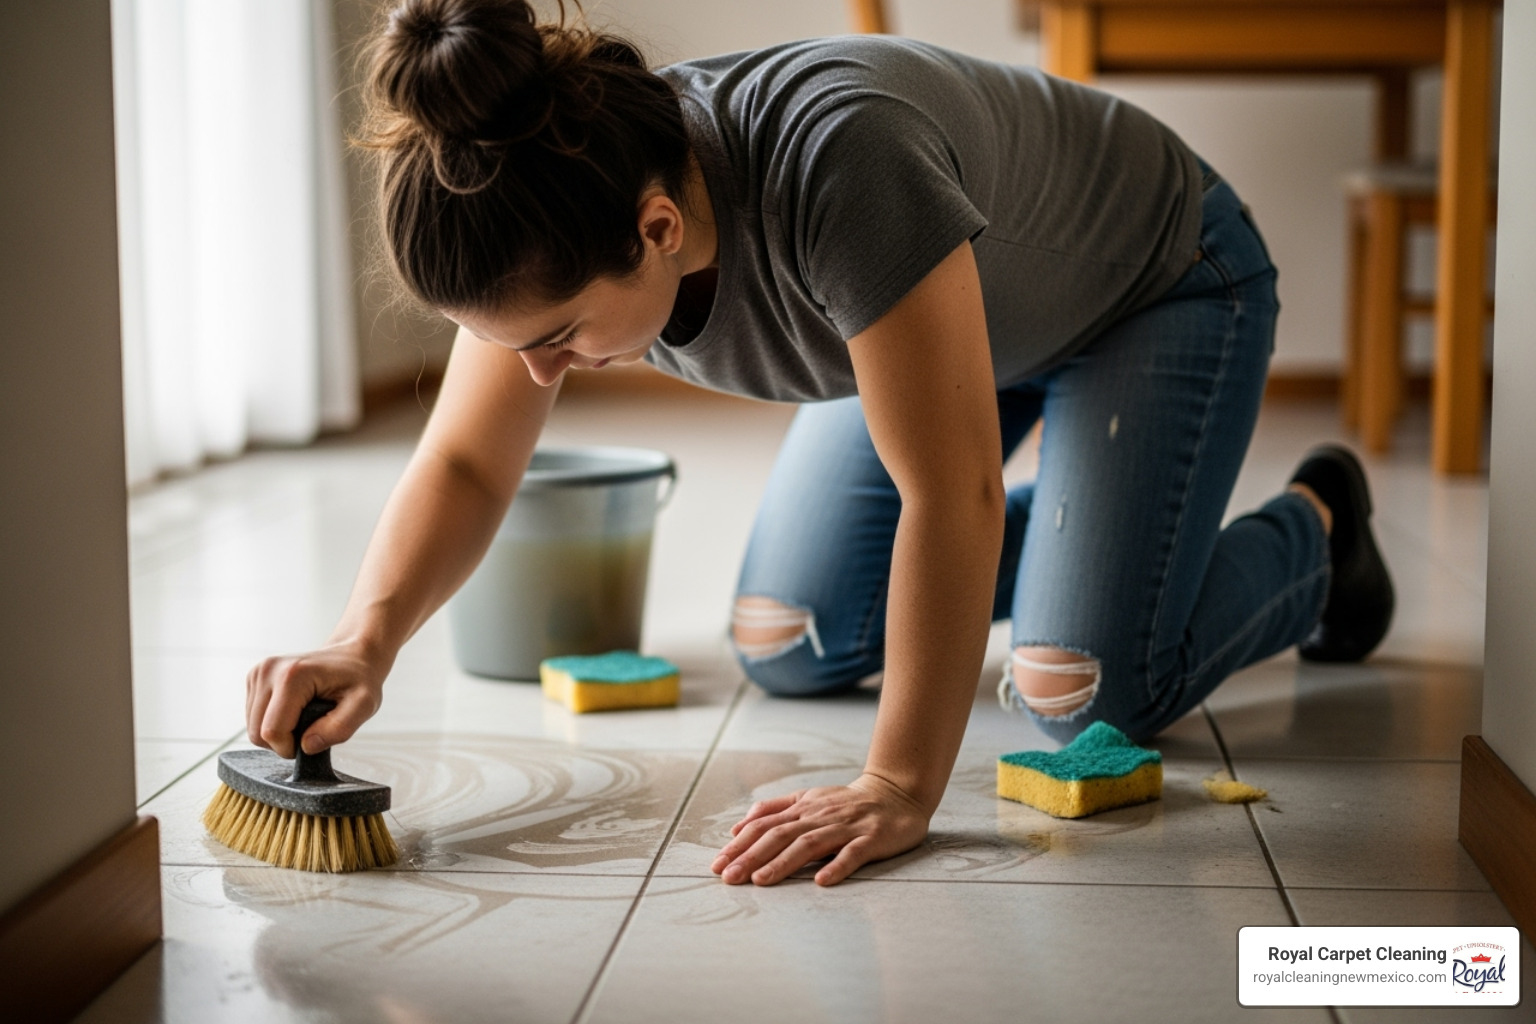
Step 3: Scrub grout lines. Apply a baking soda paste to the grout and scrub with a soft-bristled brush.
Step 4: Mop the tile surface. Use a well-wrung microfiber mop and change your water often to avoid spreading dirt.
Step 5: Rinse with clean water. This crucial step removes soap residue that attracts dirt and leaves floors cloudy.
Step 6: Dry for a streak-free finish. Use a clean, dry microfiber cloth. Air drying can leave water spots.
Advanced Techniques for Achieving a Lasting Shine
Once you’ve mastered the basics, these techniques will take your tile floor cleaning to the next level.
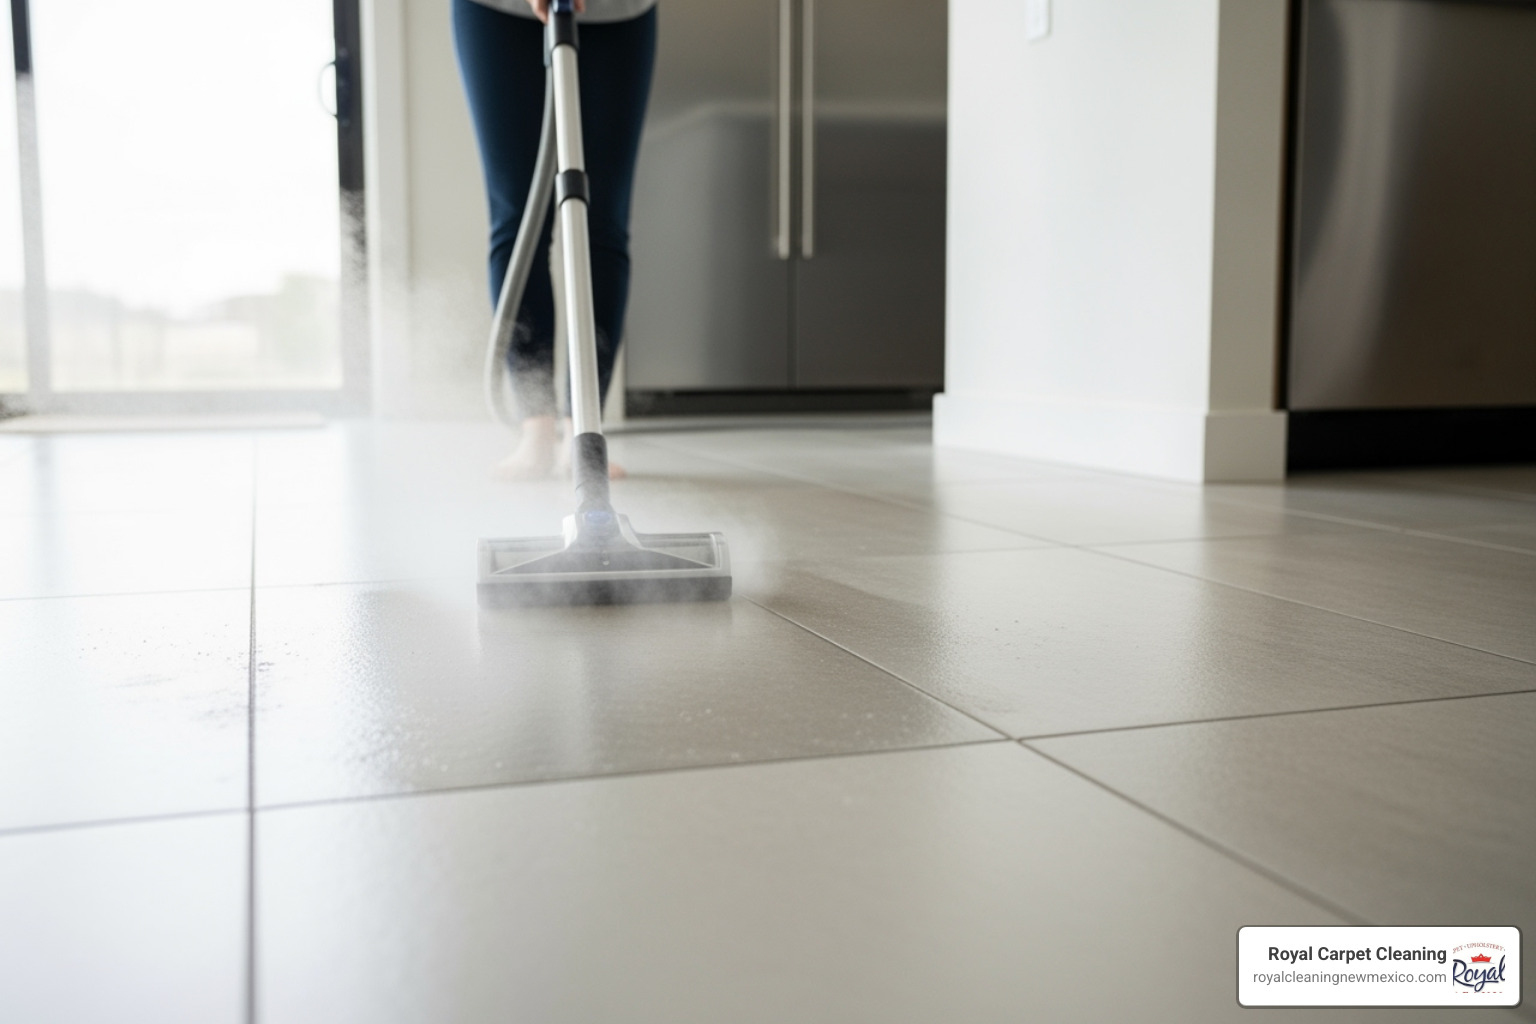
Steam cleaning: Uses high-temperature steam to sanitize and loosen dirt without chemicals. It’s effective on sealed tiles but should be avoided on unsealed surfaces. You still need to wipe the loosened dirt away.
Making tiles shine: After cleaning and rinsing, buff the floor dry with a microfiber cloth. A baking soda paste can restore luster to ceramic and porcelain, while consistent use of pH-neutral cleaners keeps natural stone shining.
Common Mistakes to Avoid:
- Using the wrong cleaner for your tile type (e.g., acidic cleaners on stone).
- Using abrasive tools like steel wool that scratch surfaces.
- Skipping the rinse step, which leaves a dirt-attracting film.
- Cleaning with dirty mop water.
Maintaining Your Sparkle: Frequency, Sealing, and Professional Help
Consistent cleaning is the key to maintaining your tile floors. The right frequency depends on your lifestyle, but a simple schedule can make all the difference.
Creating Your Sustainable Tile Floor Cleaning Schedule
- Daily: Sweep or vacuum high-traffic areas like kitchens and entryways to remove grit. Wipe up spills immediately.
- Weekly: Damp mop bathrooms and other busy areas to manage moisture and bacteria.
- Monthly: Perform a deep clean by scrubbing grout lines with a baking soda paste. Kitchens may need this bi-weekly.
Here’s a sample schedule to adapt to your home:
| Frequency | Task | Focus Areas |
|---|---|---|
| Daily | Sweep/Vacuum & Wipe Spills | Kitchen, Entryway, Hallways |
| Weekly | Damp Mop & Spot Clean Grout | Bathrooms, High-Traffic Areas |
| Monthly | Deep Mop & Scrub Grout | All Tiled Areas |
Adjust as needed—if you can feel grit under your feet, it’s time to clean.
Protect Your Investment: Grout Sealing and Professional Help
Because grout is porous, it easily soaks up dirt and spills. Sealing your grout creates a protective barrier against stains and moisture, which simplifies cleaning and prevents mold. Seal your grout once or twice a year, waiting at least 24 hours after a deep clean to ensure it’s completely dry.
When to Call a Professional
Sometimes, DIY methods aren’t enough. Consider calling a professional for:
- Widespread, stubborn discoloration that won’t lift.
- Tough stains from rust or dyes.
- Damaged grout that is cracked or crumbling, which can lead to water damage.
At Royal Carpet Cleaning, we use professional-grade equipment and solutions to remove deeply embedded grime that household cleaners can’t reach. We serve Albuquerque, Rio Rancho, Corrales, Placitas, and Bernalillo, offering deep cleaning, grout sealing, and color restoration.
For a clean beyond what DIY can achieve, a professional service is a smart investment.
Learn more about our professional Tile & Grout Cleaning services