(505) 280-5216
How to identify duct issues: A guide for Albuquerque homeowners
TL;DR:
- Leaky ducts cause high energy bills, uneven temperatures, and poor indoor air quality.
- Regular inspections with simple tools can identify early duct issues before costly repairs.
- Professional cleaning and sealing are recommended only for mold, pests, or significant debris.
Your energy bills keep climbing, one room feels like a sauna while another stays cold, and a thin layer of dust settles on your furniture no matter how often you clean. These are not random annoyances. They are often signs that your air ducts are working against you. A typical home loses 20-30% of conditioned air through leaky ductwork, and most homeowners never connect the dots. This guide walks you through exactly how to spot duct problems in your Albuquerque home, what to do about them, and when to bring in professional help before small issues turn into costly repairs.
Table of Contents
- Common signs you have duct issues
- Tools and simple checks for homeowners
- When to clean, repair, or call a professional
- Troubleshooting and preventing future duct issues
- The truth about duct issues: What most homeowners miss
- Get help with duct and home air quality issues
- Frequently asked questions
Key Takeaways
| Point | Details |
|---|---|
| Check for common warning signs | Uneven temperatures, high energy bills, and visible dust can signal duct issues. |
| Use simple at-home tests | A flashlight, airflow checks, and visual inspections can reveal most duct problems. |
| Professional help is sometimes essential | If you spot mold, major leaks, or persistent problems, expert assessment is advised. |
| Prevention beats routine cleaning | Focus on moisture control, filter changes, and sealing to avoid recurring duct issues. |
Common signs you have duct issues
Duct problems rarely announce themselves loudly. They creep up gradually, and by the time you notice something is wrong, the issue has often been affecting your home for months. Knowing what to look for puts you ahead of the problem.
Common signs of duct issues include high utility bills, uneven room temperatures, excessive dust accumulation, strange odors, weak airflow, and unusual noises from vents. Each of these symptoms points to a different underlying cause, and understanding the connection helps you act faster.
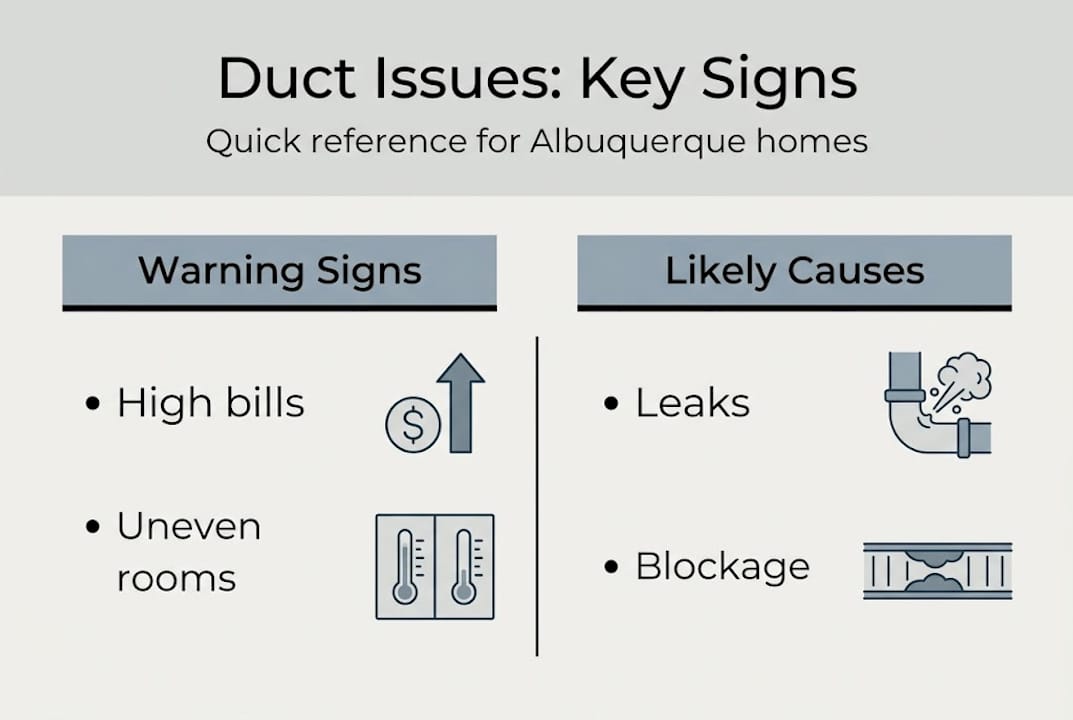
Here is a quick reference table to help you match symptoms to likely causes:
| Warning sign | Likely cause |
|---|---|
| Rising energy bills | Leaks losing conditioned air |
| Uneven room temperatures | Disconnected or blocked sections |
| Excessive dust at vents | Gaps pulling in unfiltered air |
| Musty or stale odors | Moisture buildup or mold inside ducts |
| Weak airflow from registers | Blockage, collapse, or leaks |
| Rattling or banging noises | Loose connections or debris inside |
Albuquerque’s climate adds an extra layer of complexity. The dry, dusty conditions here mean that any duct gap becomes a direct entry point for fine particulate matter. Seasonal temperature swings also put mechanical stress on duct joints, which can loosen connections over time. Understanding duct contamination in Albuquerque homes is especially important given these local conditions.
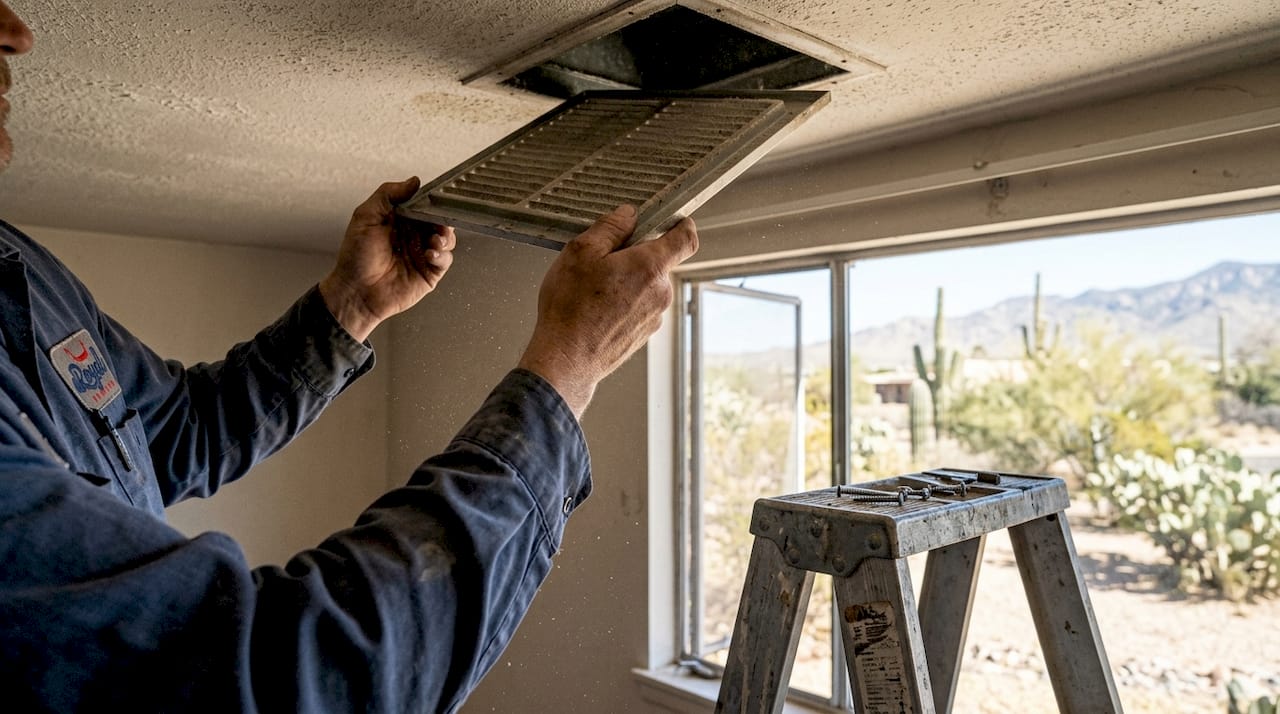
The benefits of duct cleaning become clear when you realize how much your HVAC system is compensating for leaks and blockages. Your system runs longer cycles, uses more energy, and still falls short of your comfort settings.
Pro Tip: Start your inspection in rooms farthest from your HVAC unit. These rooms are the first to show weak airflow and temperature inconsistencies, making them the most reliable early-warning zones in your home.
Also pay attention to how duct issues and your health are connected. Leaky or dirty ducts can circulate allergens, mold spores, and fine dust throughout your living spaces, affecting everyone in the household.
Tools and simple checks for homeowners
Recognizing the signs is crucial, but having a hands-on approach gives you even more control. Here are tools and methods you can use right away.
You do not need specialized equipment to do a basic duct inspection. A few common household items are enough to get started:
- Flashlight for looking inside registers and vents
- Step ladder to reach ceiling vents safely
- Small mirror to see around corners inside duct openings
- Smartphone camera to photograph anything suspicious inside ducts
- White cloth or paper towel to test for airflow and dust at registers
Here is a comparison of what you can realistically check yourself versus what a professional inspection covers:
| Check type | DIY homeowner | Professional inspection |
|---|---|---|
| Visual register inspection | Yes | Yes, with camera equipment |
| Airflow feel at vents | Yes | Yes, with airflow meters |
| Odor detection | Yes | Yes, with moisture sensors |
| Internal duct condition | Partially | Full camera inspection |
| Leak detection | Basic only | Pressure testing |
| Mold identification | Visual only | Lab testing available |
Follow these steps for a basic DIY inspection:
- Turn on your HVAC system and let it run for at least 10 minutes before you start.
- Walk to each register in your home and hold your hand near the vent to feel for airflow strength.
- Use your flashlight to look inside each register for visible dust buildup, debris, rust, or dark staining.
- Sniff near the vents for musty, chemical, or burning smells that could indicate mold or debris.
- Check accessible duct sections in your attic, basement, or utility closet for visible gaps, loose tape, or disconnected joints.
When checking registers, look specifically for:
- Heavy gray or brown dust buildup around the vent edges
- Debris like insulation fibers or small particles inside the duct
- Rust or moisture staining on metal surfaces
- Loose or missing screws on register covers
Leaky ducts pull in unfiltered air from attics and crawlspaces, worsening indoor air quality with dust and allergens. This is why even a small gap matters. For more guidance on cleaning your air ducts safely, it helps to understand what the process involves before you start.
Pro Tip: Hold a white cloth or paper towel against a vent while the system runs. If it picks up visible gray dust within a minute, your ducts likely need attention. It is simple, costs nothing, and gives you an instant visual result.
If your inspection reveals concerns but you are unsure of the next step, scheduling duct maintenance sooner rather than later prevents small problems from becoming expensive ones.
When to clean, repair, or call a professional
After basic checks, it is essential to recognize your limits and know when to escalate the issue. Here is how to confidently decide your next step.
Not every duct problem requires a full professional cleaning. The EPA advises duct cleaning only when there is visible mold growth, evidence of pests, or substantial dust and debris blocking airflow. Routine cleaning without these conditions is generally not necessary.
“You should consider having the air ducts in your home cleaned if there is substantial visible mold growth inside ducts or on other components of your heating and cooling system.” — U.S. Environmental Protection Agency
Here is a practical breakdown of when each action is appropriate:
Clean your ducts if you notice:
- Visible mold inside ducts or on HVAC components
- Evidence of rodents or insects inside the ductwork
- Thick debris or dust blocking registers and reducing airflow noticeably
- Persistent allergy symptoms that worsen when the HVAC runs
Repair your ducts if you find:
- Visible gaps, holes, or disconnected sections in accessible duct runs
- Duct tape that has dried out and is peeling away from joints
- Sections of flexible duct that have collapsed or kinked
Call a professional when:
- You suspect mold but cannot confirm it visually
- Energy bills remain high after basic sealing attempts
- Airflow problems persist after cleaning registers and changing filters
- You find damage in areas you cannot safely access
One important repair note: standard duct tape is not a reliable fix for duct leaks. It dries out and loses adhesion over time. Sealing with mastic or metal foil tape creates a lasting bond that holds up under temperature changes. Professional sealing can reduce energy use by up to 30%, which adds up quickly on your utility bills.
For a full picture of what proper duct maintenance guidance looks like, it helps to understand the full process. If you are unsure whether your situation calls for cleaning or repair, reviewing the air duct sanitation workflow can clarify what professional services actually involve. Also, knowing the common duct cleaning mistakes homeowners make helps you avoid them before spending money unnecessarily.
Troubleshooting and preventing future duct issues
Knowing when to get help is half the battle. The other half is solving recurring issues and making sure your ducts stay in top shape.
If you have already addressed obvious problems but issues keep coming back, a systematic troubleshooting approach helps you find what you missed.
For loss of airflow at specific vents:
- Check and replace the air filter if it has not been changed in the past 60 to 90 days.
- Inspect the register for blockages like furniture, rugs, or debris.
- Look for kinks or collapses in flexible duct runs near that register.
- If none of these apply, the issue may be a deeper duct obstruction requiring professional inspection.
For persistent hot or cold spots:
- Verify that the register damper (the small lever on the vent) is fully open.
- Check for gaps in duct insulation in unconditioned spaces like attics.
- Have a professional check for duct disconnections in hard-to-reach areas.
For recurring dust or odors:
- Confirm your filter is the correct MERV rating for your system (MERV 8 to 11 is standard for most homes).
- Check for moisture near duct connections, especially in humid utility spaces.
- If odors persist after cleaning, mold testing inside the ductwork may be warranted.
Ongoing prevention is simpler than most homeowners expect. Focus on these habits:
- Change air filters every 60 to 90 days, or more often if you have pets
- Inspect visible duct sections for seal integrity twice a year
- Keep humidity levels in your home between 30% and 50% to prevent moisture buildup
- Seal any gaps around duct penetrations through walls or floors
- Keep vents and registers clear of furniture and obstructions
Routine cleaning is unnecessary per EPA guidance unless visible contamination is present. Your energy and attention are better spent on filters, ventilation, and moisture control for lasting indoor air quality improvements.
Pro Tip: Mark your calendar for a quick duct check every spring and fall, right before the heating and cooling seasons kick in. Catching a loose seal or dirty filter before peak season saves you from comfort problems and higher bills when you need your system most.
For a deeper look at what to avoid during maintenance, reviewing guidance on avoiding duct cleaning mistakes helps you stay on track without wasting time or money.
The truth about duct issues: What most homeowners miss
Once you have the tools and knowledge for troubleshooting, it helps to zoom out and consider what really matters in your home’s air system.
Most homeowners focus almost entirely on duct cleaning when something feels off with their air quality. We see this pattern regularly. The instinct makes sense, but it often leads people to spend money on cleaning when the real problem is a leak, poor ventilation, or a filter that has not been changed in six months.
Cleaning removes what is already inside the ducts. It does not fix the reason contamination got in. A duct that pulls in attic dust through a gap will be dirty again within weeks of being cleaned, no matter how thorough the service was.
The habits that actually protect your home are less dramatic but far more effective: checking seals, managing moisture, and swapping filters on schedule. These low-effort steps address the root causes that drive up your bills and lower your air quality. Understanding how ducts and health impact your household gives you the right perspective to prioritize what actually moves the needle.
Clean when it is needed. Prevent the rest.
Get help with duct and home air quality issues
Armed with knowledge and practical steps, you are well on your way. But sometimes professional expertise is the safe, efficient solution.
When DIY checks reveal problems beyond basic maintenance, or when you want complete confidence in your home’s air quality, our team at Royal Cleaning New Mexico is ready to help. We provide thorough air duct cleaning services tailored for Albuquerque homes, using advanced equipment to remove contaminants and restore proper airflow. If you want to understand the full air duct cleaning benefits before booking, we are happy to walk you through the process. For a complete overview of what expert service involves, our professional duct cleaning guide covers everything you need to know.
Frequently asked questions
How do I know if my air ducts are actually leaking?
Look for uneven temperatures between rooms, a spike in energy bills, or weak airflow at certain vents. These are the most reliable early indicators, and a typical home loses 20-30% of conditioned air through duct leaks.
Should I clean my air ducts every year?
No. The EPA advises cleaning only when there is visible mold, pest activity, or substantial debris. Consistent filter changes and moisture control are more impactful for most homes.
What’s the easiest DIY check for duct problems?
Feel for temperature differences at each vent and use a flashlight to look inside registers for dust and debris. Common signs of duct issues like excessive dust and uneven temperatures are visible without any special tools.
Can leaky ducts affect my health?
Yes. Leaky ducts pull in unfiltered air from attics and crawlspaces, introducing dust, allergens, and other contaminants directly into your living spaces, which can aggravate allergies and respiratory conditions.