(505) 280-5216
From Grimy to Gleaming: How We Got Our Stained Grout White Again
How to restore grout in floor tiles – 4 Steps to Flawless!
Why Your Grout Looks So Dingy (And How to Fix It)
How to restore grout in floor tiles is a common project for homeowners. Over time, porous grout absorbs dirt and moisture, leading to discoloration that regular mopping can’t fix. Luckily, you can restore your grout without a full renovation.
4-Step Grout Restoration Process:
- Assess & Prep – Inspect for damage, clean the floor, and protect surrounding areas.
- Deep Clean – Use effective solutions to scrub away stains and mildew.
- Repair Damage – Remove and replace any cracked or crumbling grout.
- Recolor & Seal – Apply colorant for a uniform look and seal to prevent future stains.
While professional replacement costs $3 to $25 per square foot, DIY methods can restore your grout for a fraction of that. This guide will walk you through the proven methods that work.
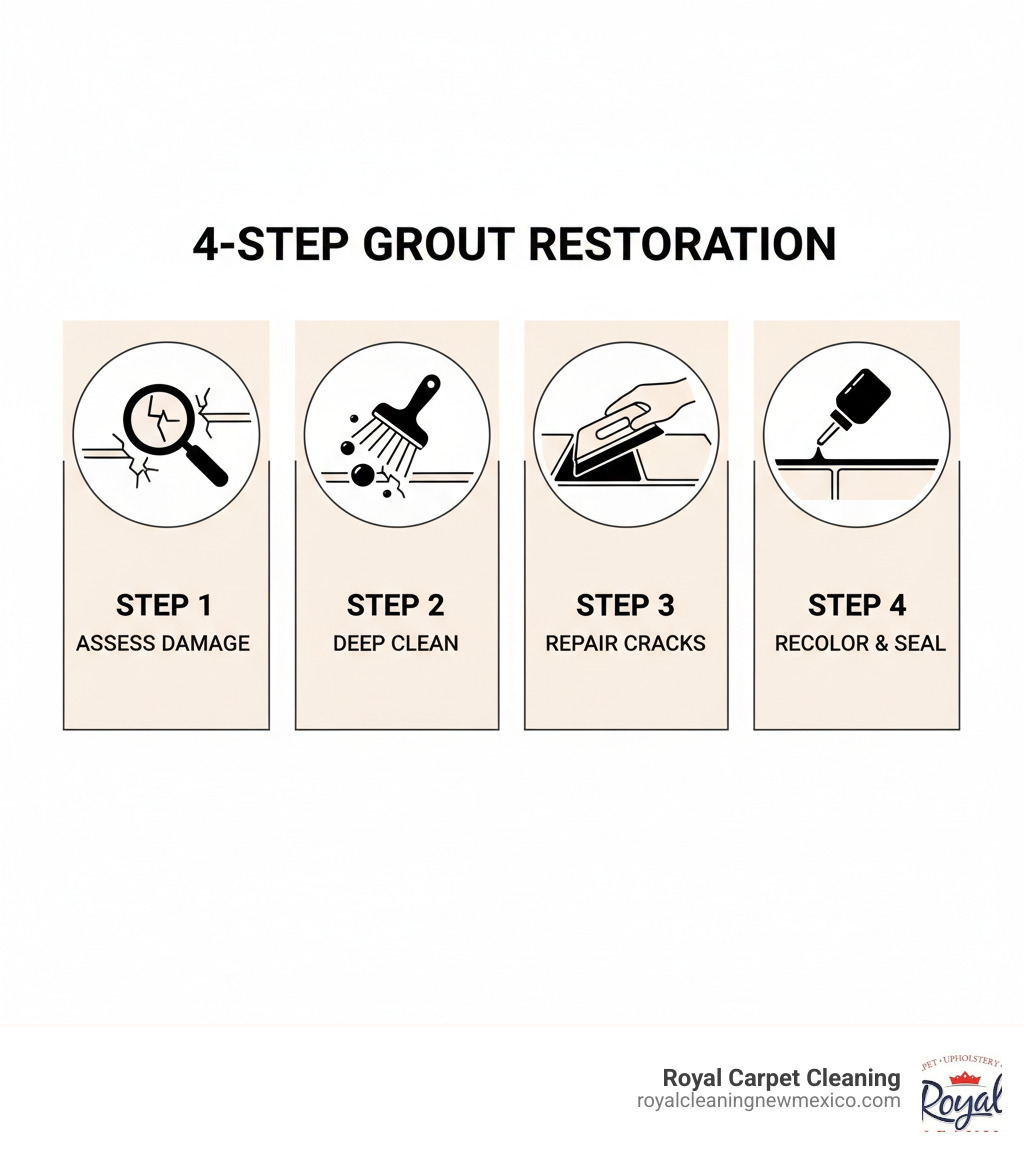
A Step-by-Step Guide on How to Restore Grout in Floor Tiles
With a clear plan, you can bring your floors back to life. Here’s how.
Step 1: Assess the Damage and Prepare Your Workspace
A quick assessment saves time and frustration.
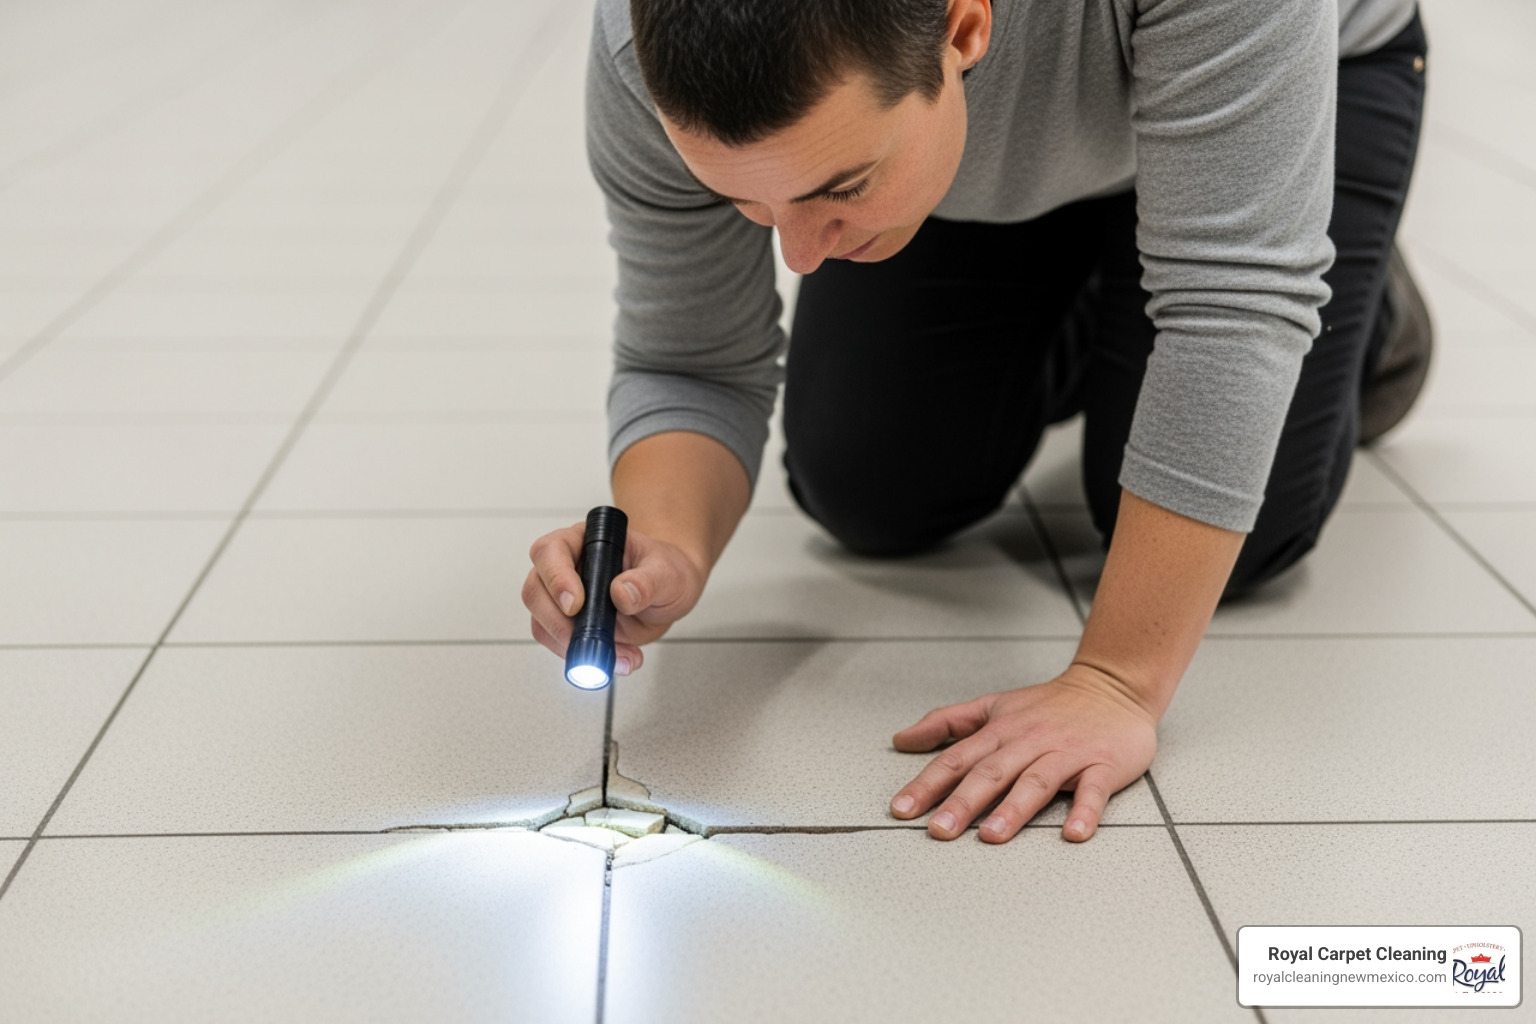
- Inspect the Grout: Look for cracks, crumbling sections, mold, and loose tiles.
- Prep the Area: Move furniture, sweep or vacuum, and mop. Use painter’s tape to protect baseboards.
- Ensure Ventilation: Open windows and use a fan for air circulation, especially when using cleaning solutions.
- Consider Your Tile Type: Most cleaners are safe for ceramic and porcelain. Avoid acidic cleaners like vinegar on natural stone (marble, travertine). Always test cleaners in an inconspicuous spot first.
Step 2: Deep Cleaning for Stains, Mold, and Mildew
Work in small sections to remove grime before your cleaning solution dries out.
- For General Grime: Apply a paste of baking soda and water. Spray with a 1:1 solution of white vinegar and water, let it fizz for 5-10 minutes, then scrub with a stiff nylon brush and rinse.
- For Tough Stains: Use oxygen bleach mixed with warm water according to package directions. Let it sit for 15-20 minutes before scrubbing and rinsing. A paste of hydrogen peroxide and baking soda also works.
- For Mold and Mildew: Use a dedicated mold remover or a steam cleaner. Use diluted chlorine bleach with extreme caution, as it can discolor grout and create harsh fumes. Never mix bleach with vinegar or other acidic cleaners, as this creates toxic chlorine gas.
Always rinse the floor with clean water to remove any residue.
For more detailed techniques, check out our guide on how to deep clean tile grout.
Step 3: How to Restore Grout in Floor Tiles by Repairing Cracks
Remove and replace cracked or missing grout to prevent moisture from seeping under the tiles.
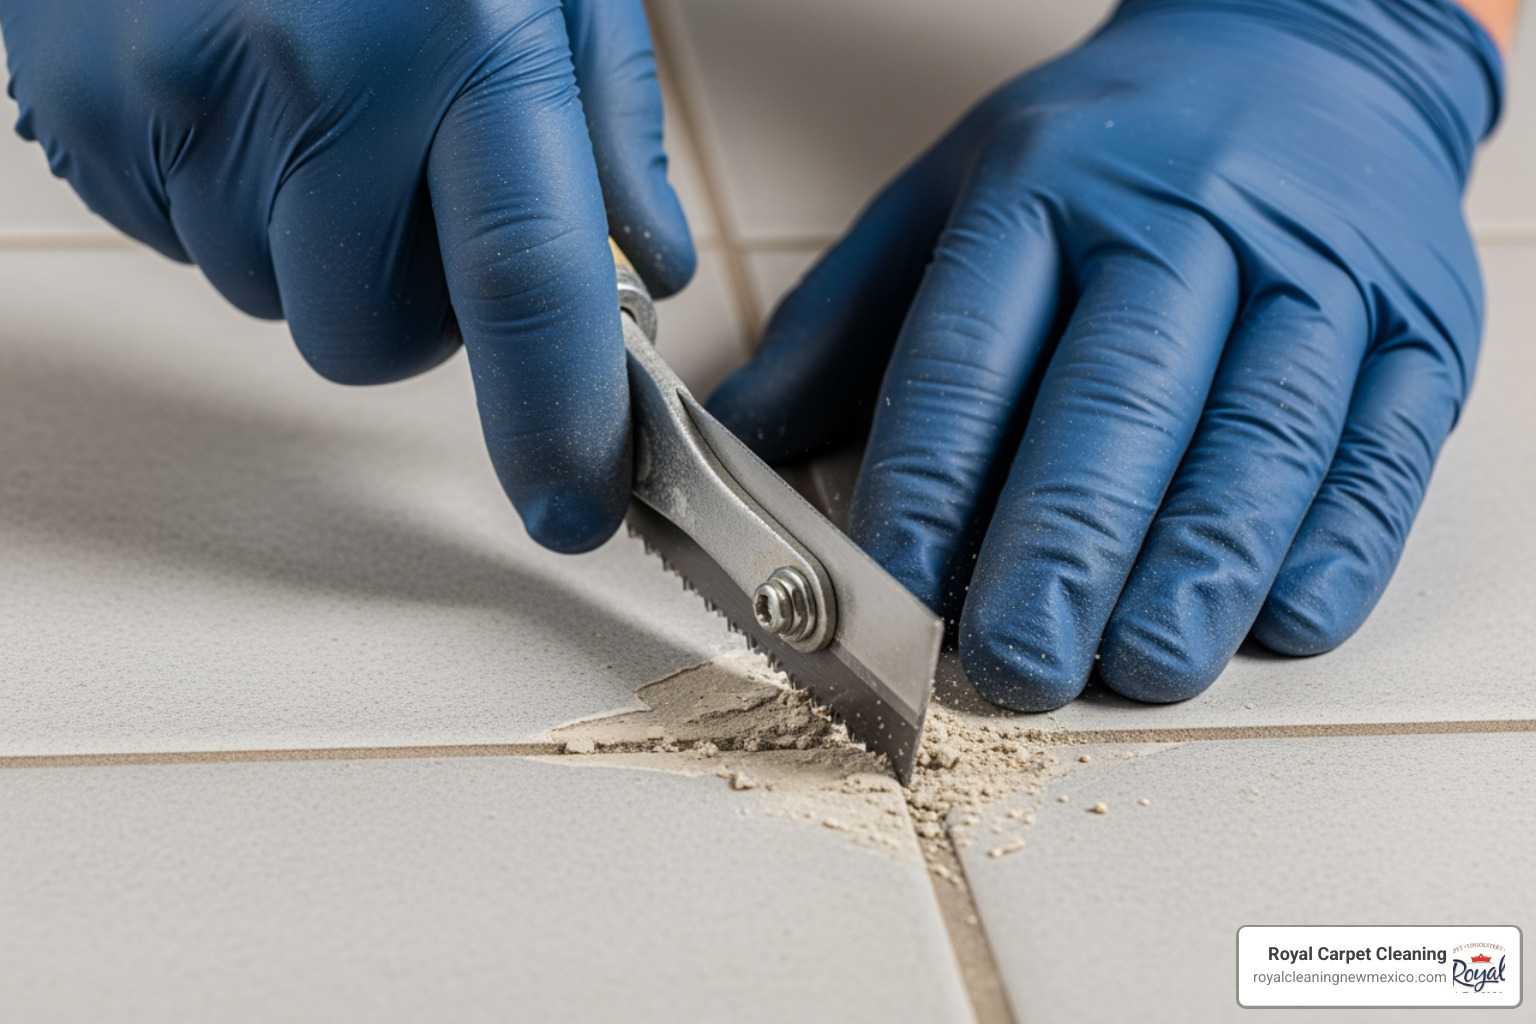
- Remove Old Grout: Wear safety glasses. Use a grout saw or an oscillating tool to scrape out at least 1/8 inch of the damaged grout. Vacuum all dust.
- Choose New Grout: Select the right type. Sanded grout is for joints wider than 1/8 inch. Unsanded grout is for narrower joints. Epoxy grout is a durable, stain-proof option but is harder to apply.
- Mix and Apply: Mix powdered grout to a toothpaste-like consistency and let it slake (rest) for 5-10 minutes. Apply with a rubber float, pressing it into the joints at a 45-degree angle.
- Clean and Cure: Scrape excess grout from the tile surface with the float. After 15-30 minutes, use a damp sponge to clean the haze from the tiles. Allow the grout to cure for 24-72 hours before walking on it.
Step 4: Recoloring and Sealing for a Flawless Finish
These final touches unify the look and protect your hard work.
- Recoloring: For stubborn stains or a new look, use a grout colorant. Apply it to clean, dry grout lines with a small brush, wiping any excess off the tiles immediately. Allow it to dry for 24 hours or more.
- Sealing: This is a critical step. Apply a quality penetrating sealer to clean, fully cured grout lines with a small applicator brush. Wipe any excess off the tiles before it dries. Allow the sealer to cure for 24-72 hours and reapply every 1-2 years.
Learning how to restore grout in floor tiles is a comprehensive process. For more tips on achieving pristine white grout, visit our guide on how to make grout white again.
Maintaining Your Restored Grout and When to Call a Pro
Proper maintenance will protect your investment. Here’s how to care for your grout and know when to call a professional.
Best Practices for Long-Lasting Grout
Properly sealed grout can last for years. Reseal high-traffic or wet areas annually.
Key Maintenance Habits:
- Sweep or vacuum regularly to remove abrasive dirt.
- Mop with pH-neutral cleaners to protect the sealer.
- Wipe up spills immediately, especially acidic ones.
- Reseal when water no longer beads on the grout line.
Common Mistakes to Avoid:
- Using harsh chemicals (bleach, vinegar) for routine cleaning.
- Skipping the sealer, which allows new stains to set.
- Sealing over dirty grout, which traps grime.
- Rushing the process and not allowing proper cure times.
- Using wire brushes that can scratch tiles and gouge grout.
DIY vs. Professional Grout Restoration
Deciding between DIY and hiring a pro depends on the scope of the job and your comfort level.
What are the pros and cons of DIY grout restoration versus hiring a professional?
| Feature | DIY Grout Restoration | Professional Grout Restoration |
|---|---|---|
| Cost | Lower cost ($1-$4/sq ft for supplies) | Higher cost ($3-$25/sq ft for replacement) |
| Time | Time-intensive | Fast and efficient |
| Equipment | Basic, readily available tools | Commercial-grade equipment |
| Result Quality | Variable results, best for minor issues | Consistent, expert results |
| Effort | Physically demanding | Minimal homeowner effort |
| Risk of Error | Higher risk of error (e.g., tile damage) | Lower risk, often insured |
When to Call a Professional
The DIY approach is great for minor stains and small areas. However, professional restoration is the smarter choice for large areas, extensive damage, or valuable tile like marble that you can’t risk damaging.
Professionals use commercial-grade equipment for a deeper clean and more durable finish than most DIY methods can achieve.
You should call a pro when:
- You have large areas to restore.
- Your grout has widespread cracking or crumbling.
- You have delicate natural stone tiles.
- You want guaranteed, expert results without the time and physical effort.
Sometimes the best DIY decision is knowing when to call the pros.
Ready for hassle-free, professional results? Schedule your professional tile and grout cleaning service with Royal Carpet Cleaning today.